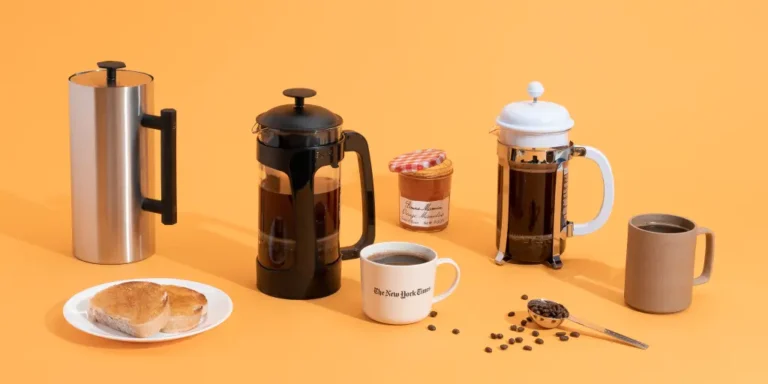
How to Start Roasting Coffee
Ever thought about roasting coffee at home but didn’t know where to start? You’re not alone. The journey from green bean to that magical brown nugget of joy is like alchemy, and I’m here to guide you through it.
Think of it as turning your kitchen into a mini-coffee lab. Roasting coffee at home isn’t just for the pros; it’s for anyone who loves a great cup and is up for a fun experiment. So, if you’re ready to take your coffee game to the next level and enjoy the freshest brew on the block, stick around.
We’re about to embark on a flavor adventure that’ll transform the way you enjoy your daily cup. Let’s dive in and unlock the secrets of home coffee roasting!
What is Coffee Roasting?
Imagine coffee beans as these little green adventurers from exotic lands, just chilling, full of potential but kinda bland. Then, boom, roasting happens! It’s like a superhero transformation in a high-heat sauna. This process turns those green beans into the brown, aromatic wonders that fuel our mornings.
Roasting is all about applying heat to coffee beans, coaxing out the flavors, oils, and aromas that were hiding inside. It’s a dance of temperature and time, turning raw potential into the complex, delicious brews we adore.
Each bean’s journey through the roaster can end in a light, medium, or dark roast, each with its unique personality. So, in a nutshell, coffee roasting is the art of flavor transformation, a crucial step in turning a bean into the best part of waking up.
The Basics of Coffee Roasting
Diving into the world of coffee roasting is like unlocking a secret level in your favorite video game. Here’s the lowdown: it all starts with choosing your weapon, I mean, your beans. Different beans have different stories, flavors, and outcomes. Now, onto the arena – the roaster. Whether it’s a fancy commercial beast or a simple pan on your stove, the goal is to apply heat evenly and transform those beans.
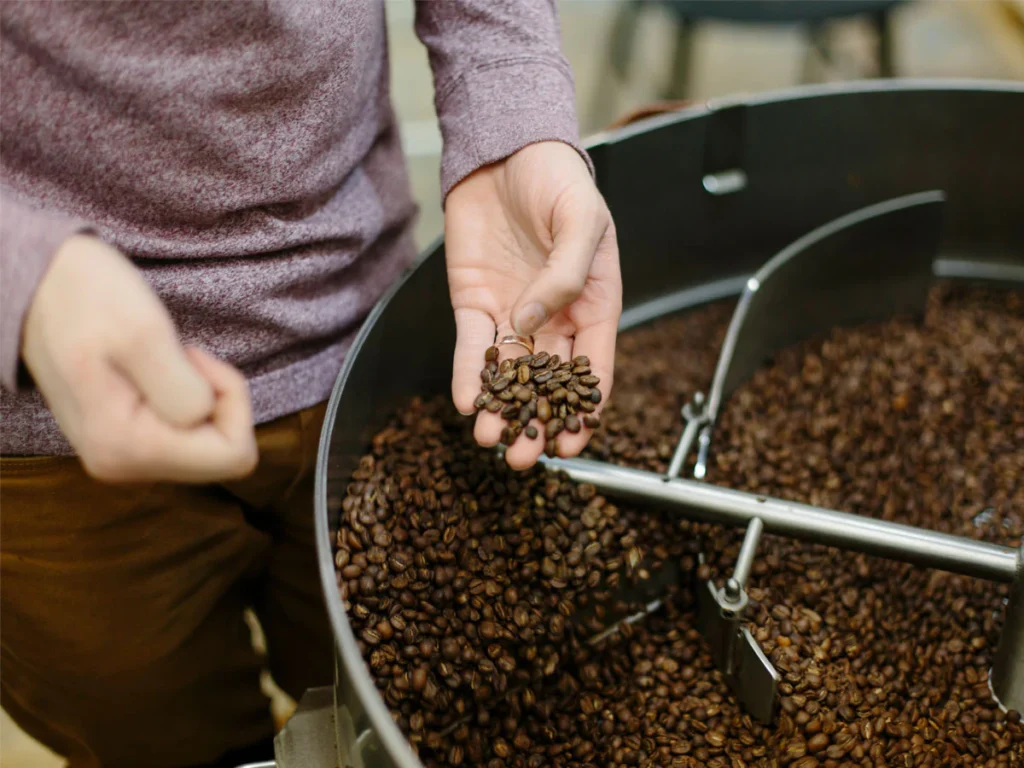
The plot thickens as we introduce heat. Beans go from green to golden to rich brown, crackling along the way like tiny popcorns revealing their inner magic. This is where timing and temperature become your best pals. Too short, and you’re sipping on sour grass water. Too long, and hello, charred despair.
The climax? Cooling them down quick to stop the roast and lock in the flavors. The grand finale is grinding and brewing, but that’s a tale for another day. Welcome to the basics of coffee roasting – where heat meets bean, and magic happens.
The Right Beans for Beginners
Diving into coffee roasting? Let’s talk beans. Not all beans are created equal, especially when you’re just starting out. You’ll want beans that are forgiving and show off your roasting skills without too much fuss. Here’s a list to get you going:
Brazilian Beans:
These are the chill kids of the coffee world. They’re versatile, forgiving, and offer a nice, balanced flavor. Perfect for honing your roasting skills.

Colombian Beans:
Think of these as your reliable best friend. Colombian beans are known for their consistent quality and classic coffee flavor profile—nutty and fruity with a smooth finish.

Ethiopian Yirgacheffe:
Ready to play? Ethiopian beans can be a bit wild, offering complex flavors ranging from floral to fruity. Yirgacheffe, in particular, is a great pick for beginners interested in exploring lighter roasts.

Sumatran Beans:
If you’re leaning towards darker roasts, Sumatran beans are your go-to. They handle heat well and can bring out deep, earthy flavors without getting too bitter.

Guatemalan Antigua:
For those looking to experiment with medium roasts, Guatemalan beans are a fantastic choice. They balance body, acidity, and flavor, showcasing hints of chocolate and spice.

Starting with these beans can make your entry into coffee roasting a bit smoother. Each has its unique personality but doesn’t require a master roaster to bring out its best. Happy roasting!
Step by Step Instructions on How to Start Roasting Coffee
Ingredients and Tools Overview
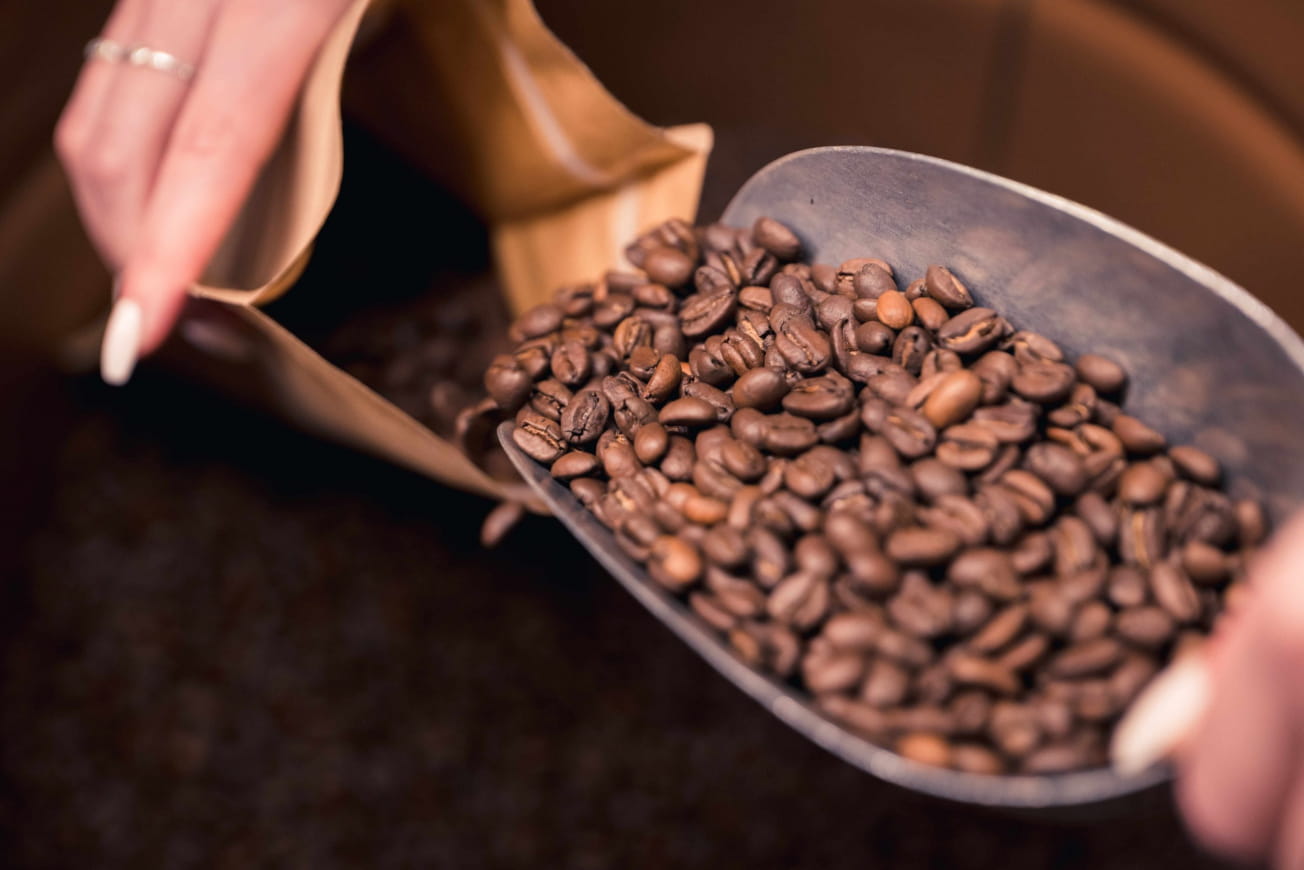
When it comes to roasting coffee at home, you’re not dealing with a long list of ingredients. In fact, there’s just one: green coffee beans. The magic is all in how you transform these beans with heat. But, picking the right green beans is crucial—they’re your raw material and the foundation of your coffee roasting adventure.
Essential Tools for Coffee Roasting:
- Roasting Device: You’ve got options here. Beginners might lean towards a simple popcorn popper or a stovetop pan, but if you’re serious about your roast, consider a home coffee roaster for precise temperature control and consistent results.
- Scale: Precision is key in roasting. A digital scale will help you measure your green beans and ensure consistency across batches.
- Timer: Timing is everything. A timer will help you monitor the roast duration closely, crucial for hitting that perfect roast level.
- Thermometer (optional but recommended): Especially useful if you’re using a pan or popcorn popper, a thermometer will help you gauge the temperature of your roast, giving you more control over the outcome.
- Cooling Tray: Once roasted, beans need to cool down quickly to stop the roasting process. A simple baking sheet can work, but a cooling tray allows for quicker, more even cooling.
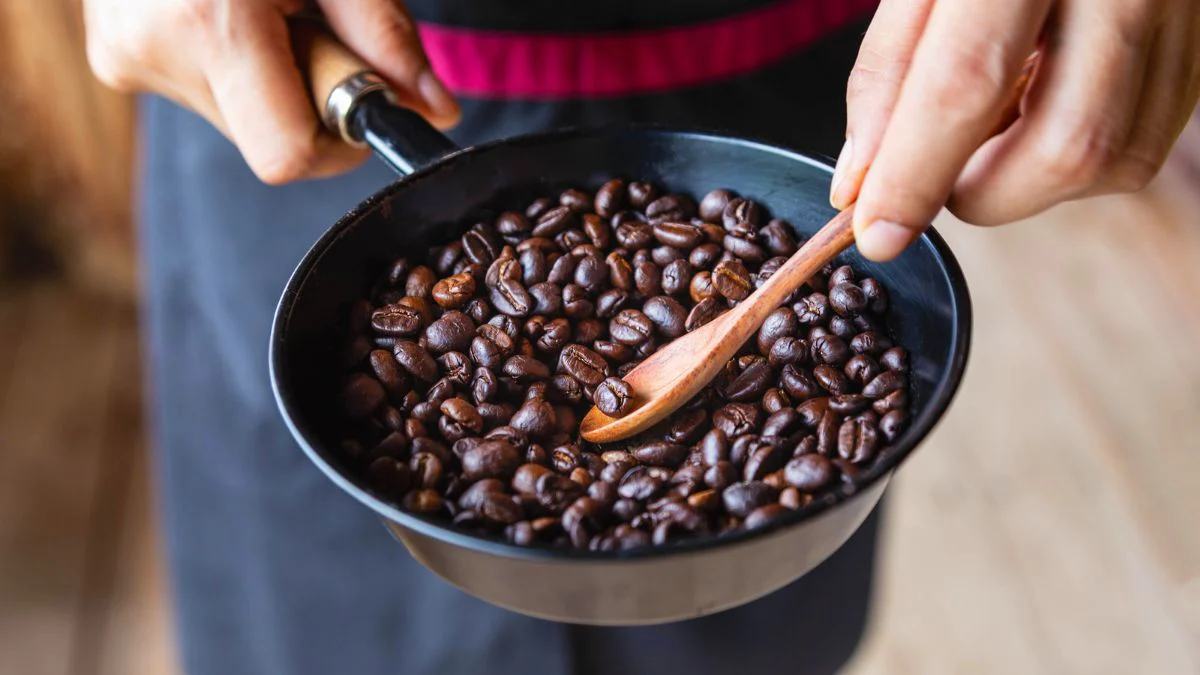
- Storage Container: After roasting, beans need to rest to develop their flavors fully. An airtight container will keep your freshly roasted coffee fresh and ready to grind.

With your green beans in hand and these tools at the ready, you’re all set to dive into the world of coffee roasting. Let’s turn those beans into your morning cup’s best version!
The Basic Methods for Roasting Coffee
Roasting coffee at home is like unlocking a hidden level in your coffee game—it’s where you get to play with flavor, aroma, and strength. Let’s break down the basic methods you can use to start roasting those beans to perfection.
Pan Roasting:
Old school but gold. Grab a heavy skillet or a cast iron pan. Heat it up, toss in your beans, and start stirring. It’s manual, it’s a bit rustic, and it requires constant attention to prevent burning. The trick is to keep those beans moving for an even roast. Listen for the “crack” sounds to judge the roast level.
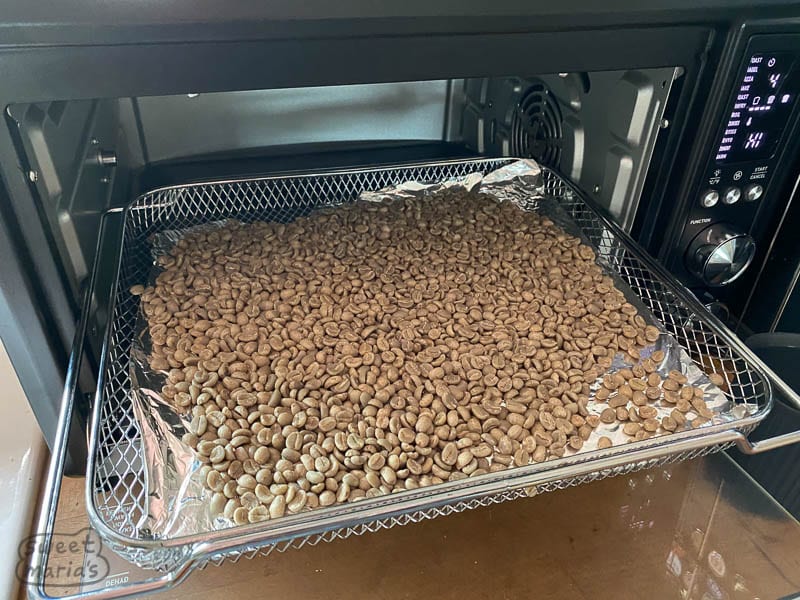
Oven Roasting:
This method is a step towards uniformity without needing specialized equipment. Spread your green beans on a perforated baking tray for even heat distribution and pop them in the oven. The downside? It can be tough to get a perfectly even roast, and the chaff (the skin of the beans) can make a bit of a mess.
Air Popper Roasting:
Yes, the popcorn popper. It’s a surprisingly effective method for beginners. Air poppers circulate hot air through the beans, roasting them evenly and quickly. Just make sure your popper can get hot enough and that you’re okay with roasting small batches.

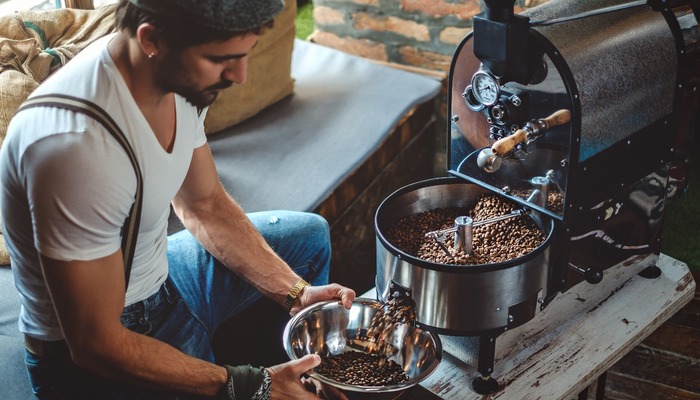
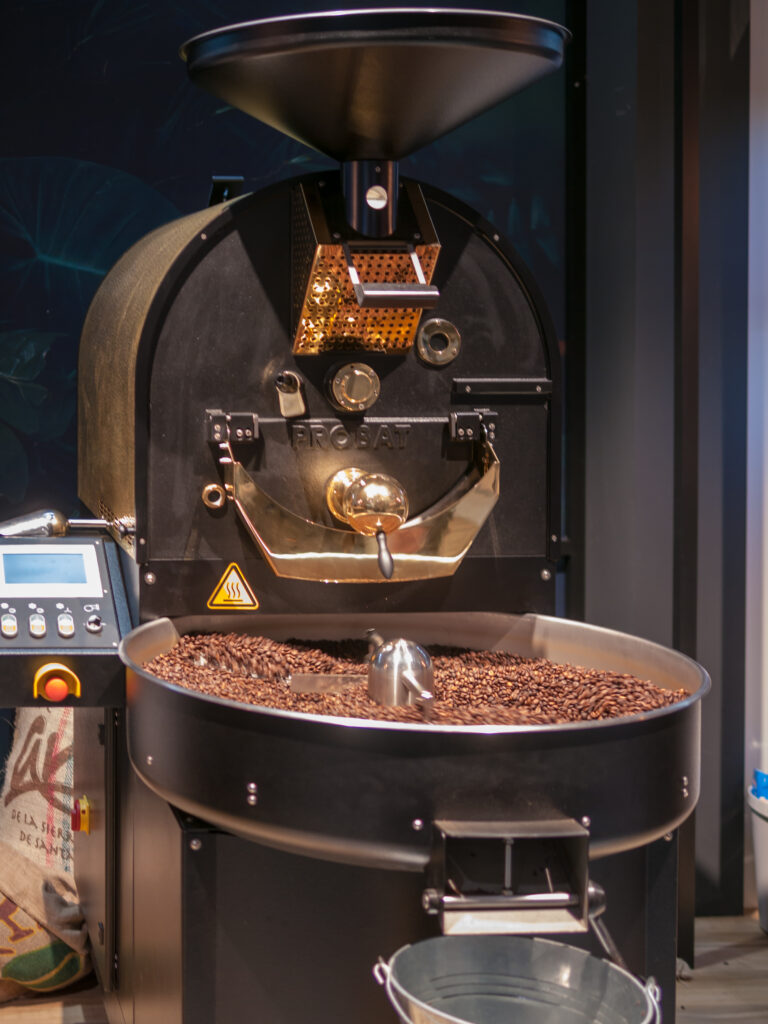
Dedicated Coffee Roaster:
For the enthusiast ready to level up. These machines are designed for roasting coffee, offering precise temperature control, timing, and cooling systems. They can range from affordable home roasters to quite the investment.

Each method has its vibe, from hands-on and artisanal to set-it-and-forget-it convenience. Start with what you’ve got or what intrigues you most. The beauty of home roasting is in the experiment—finding that sweet spot where the beans reveal their best flavors to you.
Step by Step Instructions in Roasting Coffee Using Basic Methods
Let’s break down the roasting process into manageable steps, no matter which basic method you choose. Each method has its quirks, but the overall journey from green to brown is a path well worth traveling.

Pan Roasting
- Heat the Pan: Medium-high heat works best. You want the pan hot, but not smoking.
- Add Beans: Pour in enough beans to cover the bottom of the pan in a single layer.
- Stir Constantly: Use a wooden spoon or a whisk to keep those beans moving. Even heat distribution is key to avoid uneven roasting or burning.
- Listen for the Cracks: First crack means light roast territory; the second crack pushes you into medium to dark.
- Cool the Beans: Immediately transfer the beans to a metal colander and shake or stir to cool them quickly.
- Rest: Let the beans rest for at least 12 hours to develop their flavors.
Oven Roasting
- Preheat: Set your oven to around 450°F (230°C). Position the rack in the middle.
- Prepare Beans: Spread the beans on a perforated baking tray for even air circulation.
- Roast: Place the tray in the oven. Stir every few minutes to promote even roasting.
- Check the Color: Start checking the color around the 10-minute mark until they reach your desired roast level.
- Cool and Rest: Cool the beans as you would with pan roasting and let them rest.
Air Popper Roasting
- Preheat: Run the air popper for a few minutes to warm up.
- Add Beans: Fill the popper to the recommended level (usually around a half cup).
- Watch and Listen: The beans will start moving and cracking. First crack signals a light roast, and the second crack is darker roasts.
- Cool: Use a metal colander or a cool tray to stop the roasting process.
- Rest: Allow the beans to rest and develop their flavor profile.
Dedicated Coffee Roaster
- Preheat: Follow the manufacturer’s instructions to preheat your roaster.
- Add Beans: Load the green beans into the roasting chamber.
- Set Profile: If your roaster allows it, set a roasting profile. Otherwise, monitor the process manually.
- Start Roasting: Engage the roaster. Keep an eye on color changes and listen for cracks.
- Cool: Use the machine’s cooling cycle or transfer the beans to a colander.
- Rest: Give the beans time to rest and de-gas before grinding and brewing.
Regardless of the method, the joy of roasting comes from watching (and smelling) the transformation unfold. Experiment with different beans and roast levels to find your perfect cup. Happy roasting!
How to Avoid Common Home Roasting Mistakes
Home coffee roasting is a journey filled with aroma and anticipation but watch out for those pesky potholes along the way. Here are some pro tips to keep your roasting smooth and your coffee tasting superb.

- Uneven Roasts: The villain of home roasting! Keep those beans moving. Whether you’re using a pan, oven, or air popper, agitation is key. Inconsistent heat? That’s a recipe for roasting mishaps. Ensure your equipment heats evenly and adjust your method as needed.
- Ignoring the Cracks: The sound of the crack is like coffee’s way of whispering its secrets. First crack? You’re entering light roast territory. Second crack? Welcome to the dark side. Timing is everything. Don’t let distractions lead to over or under-roasting.
- Using Stale Beans: Freshness is your friend. Using beans that have been sitting around too long before roasting can result in a flat, uninspiring cup. Source fresh, green beans from reputable suppliers.
- Roasting Too Much or Too Little: Know your needs. Roasting too much coffee can lead to stale beans if you can’t use them quickly enough. Too little, and you might not have enough for your weekly consumption. Find your balance.
- Skipping the Resting Period: Patience, padawan. Freshly roasted coffee needs time to de-gas and develop its full flavor profile. Skipping the rest can lead to a less enjoyable brew. Give it at least 12 hours, though some beans may need more.
- Poor Storage: Air, moisture, heat, and light are coffee’s kryptonite. Store your roasted beans in an airtight container in a cool, dark place. No need for fancy gadgets—a simple, opaque container will do.
- Not Cleaning Equipment: Old coffee oils and chaff can ruin your next batch. Keep your gear clean to ensure each roast is as fresh and flavorful as possible.
Wrapping Up
Diving into the world of home coffee roasting is like unlocking a hidden door to a sensory playground. It’s unique because you get to play the alchemist, transforming humble green beans into aromatic treasures. This journey isn’t just about the end cup; it’s about the versatility and creativity you unleash along the way.
From choosing your beans to mastering the roast and savoring the result, each step is a chance to explore and refine your palate. So, why not give it a shot? Whether you’re wielding a skillet or a high-tech roaster, the path to crafting your perfect brew is both rewarding and delicious. Embrace the bean, and let the roasting adventure begin!
Jl.Surjan
Disclosure: Our blog contains affiliate links to products. We may receive a commission for purchases made through these links. However, this does not impact our reviews and comparisons. We try our best to keep things fair and balanced, in order to help you make the best choice for you.